French Press
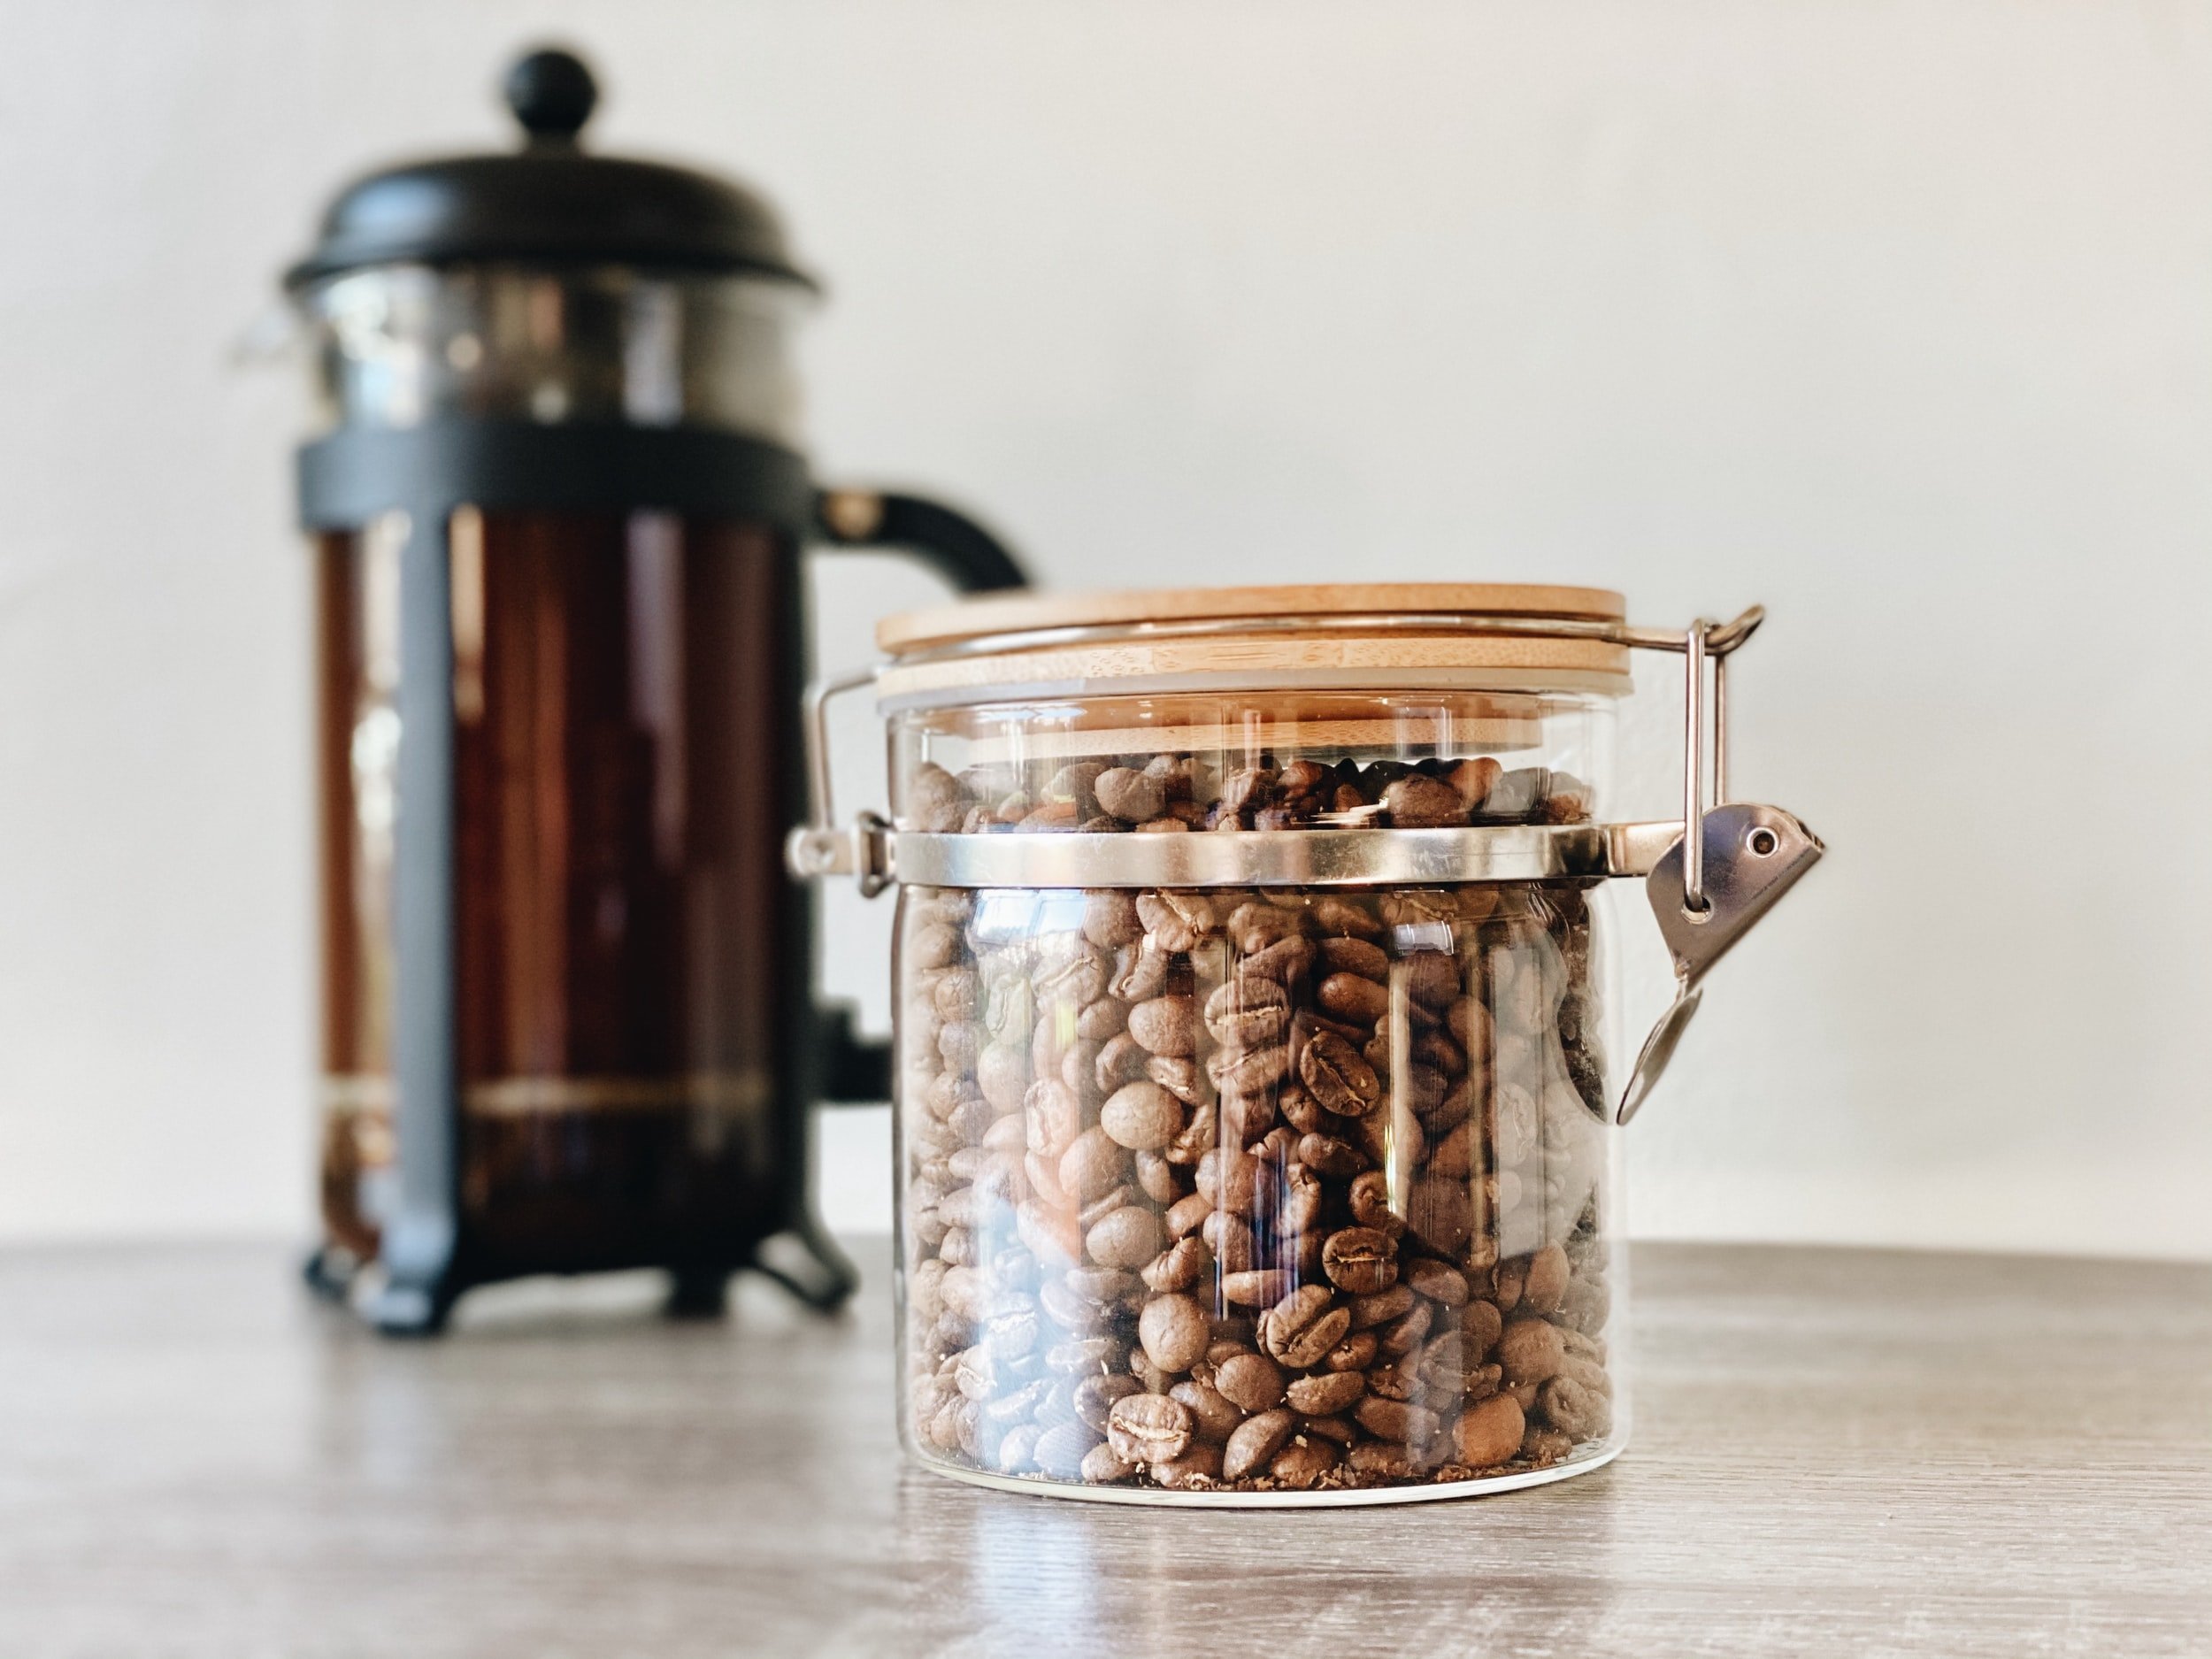
If you want a bold and full bodied cup, the French Press is the way to go. This is a simple brewing method in which coarse beans are immersed in water and left to steep for a period of time before a metal mesh filter is plunged through the coffee to separate the grounds.
`Heat enough water to fill the press as well as some extra for pre-heating to between 195 and 205F.
While heating, weigh your coffee beans and grind on a medium-course setting. We recommend a 1:14 coffee/water ratio.
Once heated, add some water to your empty press and let sit for a minute or so to preheat the walls. This will ensure there are no drastic temperature changes during the brew process.
Pour out the pre-heated water and add your grinds.
Set your press on your scale and tare(zero) it out.
You can now start adding water. At first, add about enough to cover the grounds and let bloom for 30 seconds.
Now set your timer for 4 minutes and add the appropriate amount of hot water. You can place the lid on top but DO NOT press the plunger. Remember 1ml of hot water will weigh 1g on your scale. for 14g ground coffee, you would want approximately 200g hot water (1:14 Ratio)
After your timer is up, gently press the plunger to the bottom of the press until you feel slight resistance from the compacted grounds. Do not force the plunger into the grounds as it will lead to an over-extraction of your coffee.
Immediately serve into your cup or other serving vessel. You do not want to let your coffee steep any longer or it will get bitter.

Chemex
Elegant and delicious, the standout hourglass design of the Chemex looks great in just about any kitchen. People also love it for it’s bright and clean finish thanks to the thick paper filters used with this method.
`Heat enough water to brew your desired amount of coffee to between 195 and 205F. Add some extra to your kettle for pre-heating. We recommend using a gooseneck kettle since it’s much easier to control your pour.
While heating, weigh your coffee beans and grind on a medium-course setting. We recommend a 1:15 coffee/water ratio. For 3 cups (710ml) you will want about 47g ground coffee.
Place the filter in the top of your Chemex ensuring the triple layer faces the spout. Than add enough hot water to soak the paper, this helps eliminate any papery taste will also help to preheat the glass.
Discard this water via the spout (don’t worry, the filter will stay in place) add your grounds and place the Chemex on your scale.
Tare(zero) your scale than slowly pour a small amount of water into the center of the grounds. Pour in small circles until the grounds are evenly wet. Then wait about 30 seconds for the coffee to bloom.
Add the rest of your water pouring in slow circles, making sure to spread the water evenly over the coffee. Do not rush this, it should take about 3-4 minutes to complete the brewing process.
Once all of the water has run through the filter, you may discard it in the trash (or compost) and enjoy your coffee!

Pour Over
Coffee lovers enjoy this method since it allows you complete control of the brew process ensuring proper saturation in order to better extract all the flavors of your particular bean. Also great for brewing small amounts.
`Heat enough water to brew your desired amount of coffee, as well as some extra for pre-heating, to between 195 and 205F.
While heating, weigh your coffee beans and grind on a medium setting. We recommend a 1:16 coffee/water ratio.
Set your filter into your pour over device and add your grounds.
Set the entire setup on your scale and tare(zero) it out.
Start adding your hot water slowly. Add about 50-60 grams and than stop to allow the coffee to bloom for 30 seconds.
Slowly pour in the remaining hot water using a outward circular motion. The goal is to keep the grounds completely wet but you do not want the water to rise above the grounds. The entire process should take 2 to 3 minutes.
Once finished, you can remove your brewing device and enjoy!

Electric Drip (Coffee Machine)
Electric coffee makers use the same basic principals as a pour-over however the brewing process itself is automated. While this leads to less control over your brew, you can serve large amounts of coffee in a much shorter amount of time.
`Fill your machine’s reservoir with the desired amount of warm water and add your filter to the filter tray.
Grind your beans on a medium setting using a ratio of 2 tablespoons ground coffee for every 8oz of water.
Add your grounds to the filter.
Close the lid and turn the machine on.
Once the dripping stops, your coffee is ready to serve. If your machine has a built in hot plate, we recommend not leaving the coffee pot on the plate for more than 10 minutes, you can either serve into your cups or pour into a thermal carafe to preserve your flavor.

AeroPress
The AeroPress is a unique brewing method yielding very similar to espresso in which you are using pressure (your arms) in order to force the water through the grinds and filter to quickly extract all your flavors. The resulting coffee tends to be more concentrated with a heavier mouthfeel than drip style coffees.
`Measure 17g coffee and grind on a fine setting. The AeroPress spoon will measure this perfectly if you do not have a scale.
Place the filter in the basket. Than preheat the AeroPress and rinse the filter with hot water to eliminate any papery flavors. ( You can pre-heat your mug too)
Discard the rinse water, attach the basket to the bottom of the brew chamber and place on top of your mug. Now add your ground coffee.
Start a timer and pour in your water just off the boil (205F) into the brewer filling to the number 4 marked on the brewer. Ensure coffee is evenly saturated.
Give your brew a quick stir and place your plunger on top. You will want to pull up slightly on the plunger to create a pressure seal.
At 1:15, remove the plunger and give the brew another stir with a spoon or paddle.
Replace plunger and press down with steady pressure until you hear the AeroPress start to hiss. This entire process should take about 2 minutes.
Remove the device from your mug and enjoy!

Moka Pot
This iconic Italian brewing device produces a strong, almost syrupy coffee that is very popular in Europe. This is a true show piece that takes some time to master but produces a wonderful cup of coffee.
Boil enough water to fill the water chamber.
Grind enough coffee to fill the coffee basket using a fine to medium-fine setting. Take a knife and level the grounds with it. Do not tamp the grounds.
Fill the water chamber with boiling water to the bottom of the release valve. DO NOT cover the valve or it will not work in case of an emergency.
Assemble the Moka Pot. Ensure that there is no grounds in the threads or it will ruin your pressure seal damaging the flavor and balance.
Place the Moka Pot on your stove over medium-low heat.
Start a timer. It could take 5-10 minutes before you notice anything happening. If nothing happens after 10 minutes, turn the heat up slightly.
As the coffee begins to fill the upper chamber, keep an eye out for spurting or spewing. If this happens, there is too much heat and you need to lower your stove slightly.
The brew is finished when it’s about 80% up the spout in the upper chamber.
Immediately remove from heat and serve. In order to prevent bitterness, we recommend cooling the pot rapidly using a cold towel to quickly halt the brewing process.